Changing a Standard Reverse Osmosis Membrane
1. Start by removing the entire membrane housing from the unit. You will need to disconnect the three tubes that connect it. It is wise to tag or otherwise mark the identification of the tubes for reinstallation.
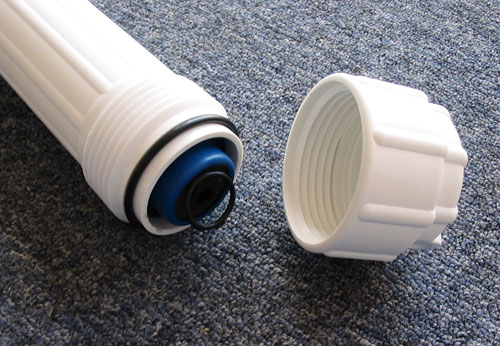
2. To remove the old membrane, screw the cap from the membrane vessel. Turn it counterclockwise.
Caps are sometimes difficult to remove. If you can't get it loose, get some help. Four hands are better than two. Channel lock pliers are a usesful tool.
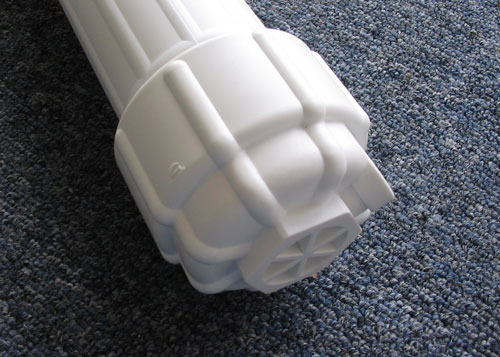
Note: The membrane housing in the pictures has no fittings installed.
You do not need to remove the fittings from the housing to change the membrane.
3. Pull the old membrane from the housing. Some membranes have a pull ring, while others only have a stem. Pliers will help if a stem is all you have to get hold of.
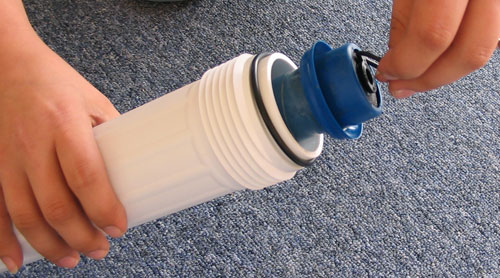
4. Remove the new membrane from its bag and handle it only with gloves or by the stem. Membranes are packed in preservatives, so be careful. It will insert easier into the housing if you wet it with tap water to provide lubrication. Just hold it under a running tap for a moment.
5. Insert the new membrane into the housing, holding only by the stem or pull ring. The end with the two o-rings goes in first. If you'll twist it slightly as you push, it will go in easily. You must feel it slip into the groove at the end of the housing. You'll feel it “bottom.”
6. When the membrane is securely in place, replace the cap (the membrane in the picture is not in place — it is in the process of being pushed in to the housing.) Reinstall the membrane housing on the unit.
Site Index
Filtration Systems
- Aeration for Iron & Sulfide
- Backwashing Filters
(whole house & well units)
- Chlorine & Chemical Injectors
- Countertop Water Filters
- Emergency Filters
- Garden Hose Filters
- Reverse Osmosis, Residential
- Reverse Osmosis, Commercial
- Shower Filters
- Specialty Filters
- Ultraviolet Systems
- Undersink Filters
- Water Softeners
- Whole House Filters
Cartridges
Parts
- Replacement Parts
- Faucets
- Filter Media
- Fittings
- Housings
- O-rings
- Pumps
- Pura UV
- R.O. Parts
- R.O. Tanks
- R.O. Booster Pump
- VIQUA UV